1. Assuming you have one. Provide the following information on your broadcast/stream program, in the encoder or radio settings:
Radio Option: Choose Shoutcast v1 or Shoutcast on your DJ stream program, even if the radio is icecast or scv2.
Password:
DJ Port:
2. Later provide other configure such as bitrate, quality, encoder options according to your needs and radio.
3. Start to stream now.
Note:
To connect and stream as a DJ, the AutoDJ of the radio must be online.
DJs have to choose shoutcast v1 protocol or shoutcast server option on their stream program always!
In order to create a radio on SonicPanel, please follow the below-mentioned steps:
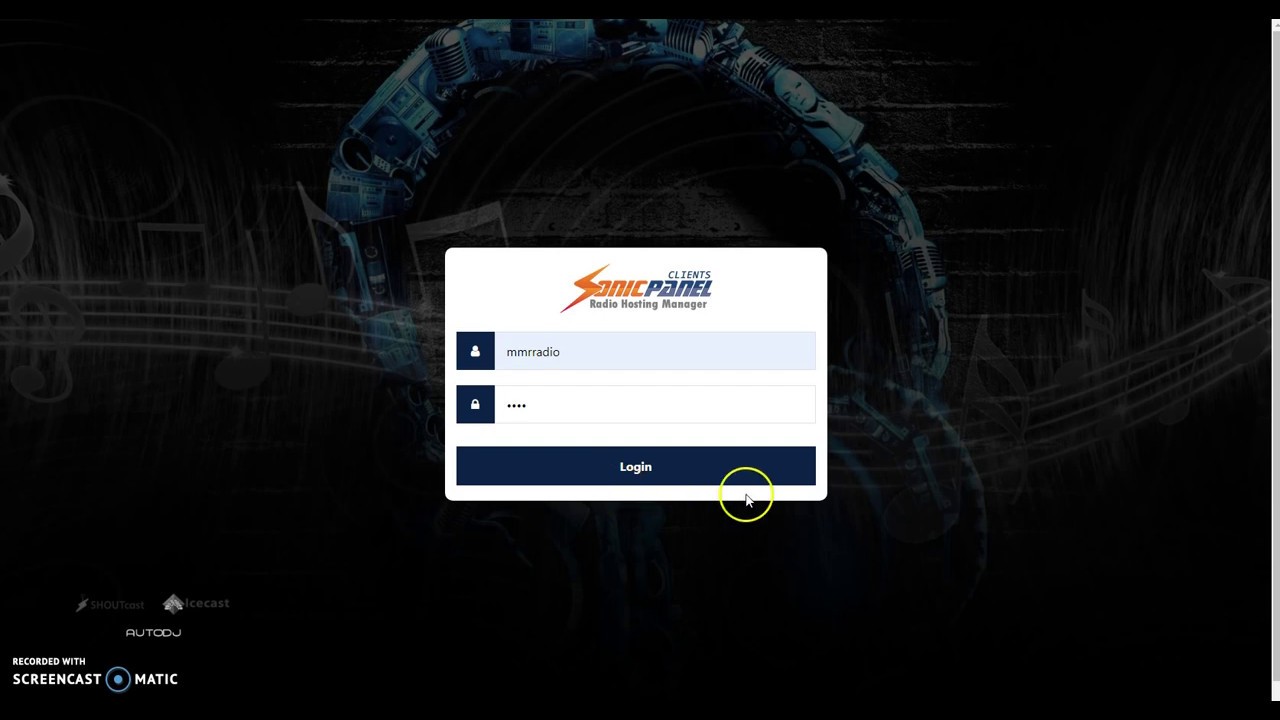
Step 1: Log in to your SonicPanel using the username and password provided.
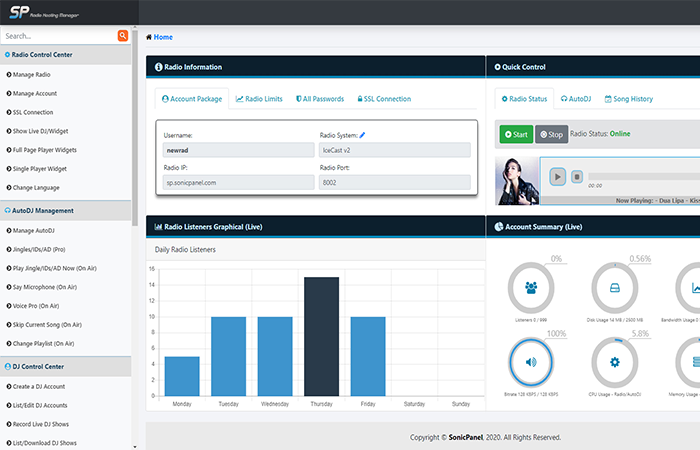
Step 2: You will be redirected to the home page.
Step 3: On the left scroll menu on your home page, select “Manage AutoDJ” in AutoDJ Management.
Step 4: In that “Manage AutoDJ page click “Playlists”. You will be redirected to the playlist page where you see the already created playlists. There is an option for creating a new playlist also
Step 5: To create a new playlist, first, “Enter a name” for the new playlist and click the “Create a New Playlist” button.
Step 6: For uploading mp3 files, click on the “Upload MP3 files button”.
Step 7: A new page will be open where you can upload mp3 files from your computer by clicking anywhere on the page OR there is an option for drag the mp3 files from your computer and drop it on the page.
Step 8: For making your playlist active Click on “AutoDJ”
Step 9: Select the playlist on the “Active Playlist” dropdown to make it active.
Step 10: Click on the “Save Changes” button.
Step 11: Now manage your radio by just clicking the play button available under “Quick Control” panel.
Important: Your “Radio Status” and “AutoDJ status” should be online to stream your radio.
This is the demonstration of how to setup and schedule songs from your AUTO DJ, sonic panel.
Unlock the Power of SonicPanel: Your Ultimate Guide to Scheduling Music on Internet Radio! In this step-by-step tutorial, we’ll show you how to seamlessly schedule and automate your music playlists using SonicPanel. From uploading your favorite tracks to creating playlists and setting up a dynamic schedule, our guide covers it all. Elevate your online radio experience with the best practices in internet radio hosting.
Tune in for an immersive journey into the world of scheduling music effortlessly! #SonicPanel #InternetRadio #MusicScheduling #RadioAutomation Sonic is a control panel designed for internet radio hosting, making it easier to manage your Shoutcast and Icecast servers.
To schedule music using SonicPanel, follow these general steps:
Make sure you have already an account with sonic panel or buy from us. https://hornhost.com
Access SonicPanel: Log in to your SonicPanel account using your credentials.Navigate to the AutoDJ Management: Look for the AutoDJ or Media section in SonicPanel. This is where you can manage your scheduled playlists.
Upload Your Music: Before scheduling, ensure your music is uploaded to SonicPanel. Upload your tracks or create playlists based on your preferences.
Create Playlists: In the AutoDJ management, you should find an option to create playlists. Organize your music into playlists, specifying the order of tracks and any repeat settings. Set Schedule: Locate the scheduling feature in SonicPanel.
This could be a calendar or scheduler interface where you can set specific times for playlists to play.
Assign Playlists to Time Slots: Once your playlists are ready, assign them to specific time slots in the scheduler. This allows you to automate when certain playlists or genres play throughout the day.
Save and Apply: After setting up your schedule, make sure to save and apply the changes.
This ensures that your scheduled playlists will play according to the specified time slots.
Monitor and Adjust: Regularly check your scheduling settings to ensure that your playlists are playing as intended. Adjust the schedule as needed, especially if you want to introduce new playlists or make changes to the existing ones.
Remember that the exact steps may vary slightly based on the version of SonicPanel you are using, so be sure to refer to the official SonicPanel documentation or support resources for detailed instructions tailored to your specific setup.
Please note that the stream link mentioned are only samples as a guide, please refer to your actual radio link.
The owner of the radio station can enable the personal panel for each deejay. Depending on the permissions set, Deejay can use the following features (In this example all features are enabled):
Manage Account
Here the Deejay can enter personal data and change the password.
Profile Picture
Show Live DJ/Widget
Change Language
AutoDJ Management – Play Jingle/IDs/AD Now (On Air)